How to Improve Low-Resolution Images
Learn how AI upscaling and enhancement make low-resolution images clearer, larger, and more useful for web or print.
Low resolution is one of the most common image problems on the web. That product photo saved at 72 DPI, the screenshot scaled down to fit a thumbnail, the old scan that came out tiny — all of them share the same issue: not enough pixels. Here is how to make low-resolution images work for you.
What makes an image low resolution
Resolution refers to the number of pixels in an image. A 640×480 image has 307,200 pixels total. A 1920×1080 image has over 2 million. When you try to use a small image at a larger size, those limited pixels get stretched, and the result looks blurry or blocky.
Low resolution常见原因:
- Images saved or exported at low quality settings
- Screenshots, which are typically 72–96 DPI
- Photos shared on social media (platforms compress and resize)
- Old scans saved as small files
- Thumbnails that got accidentally used at full size
- Enlarged images without proper upscaling
What AI upscaling can and cannot do
AI image upscalers do two things: they increase pixel dimensions and rebuild detail as they enlarge. This is different from basic resizing, which just stretches existing pixels and looks blurry.
AI upscaling can:
- Make a small image larger while keeping edges clean
- Rebuild some texture and detail during enlargement
- Produce print-ready sizes from web-resolution sources
- Handle JPG, PNG, and WebP files
AI upscaling cannot:
- Add detail that was never there in the first place
- Fix a blurry image and make it sharp at the same time
- Recover text from an unreadable screenshot
- Make a heavily compressed source look like a professional shoot
The key: AI upscalers work best with clean sources that still have recognizable structure. A small but sharp image becomes a large sharp image. A small and blurry image becomes a large blurry image.
Step by step: how to improve a low-resolution image
Step 1: Find the highest resolution original
If the image came from a camera, phone, or design file, use that original. Social media uploads and screenshots are already compressed — the original will always upscale better than a re-uploaded version.
Step 2: Enhance first if the image is also blurry
A low-resolution image that also has noise or compression artifacts will upscale those problems too. Run it through the AI Image Enhancer first to clean it up, then upscale.
Step 3: Upscale with AI
Use the AI Image Upscaler to enlarge to your target dimensions. For web use, 2× is usually enough. For print, you may need 4× or higher.
Step 4: Check the result at actual size
View the upscaled image at the actual dimensions you will use it. Zooming in on a thumbnail makes everything look worse — check it at 100% in the context where it will appear.
Before and after
This example shows a low-resolution image before and after AI upscaling. The enlarged result is clean enough for web use without looking stretched or blocky.
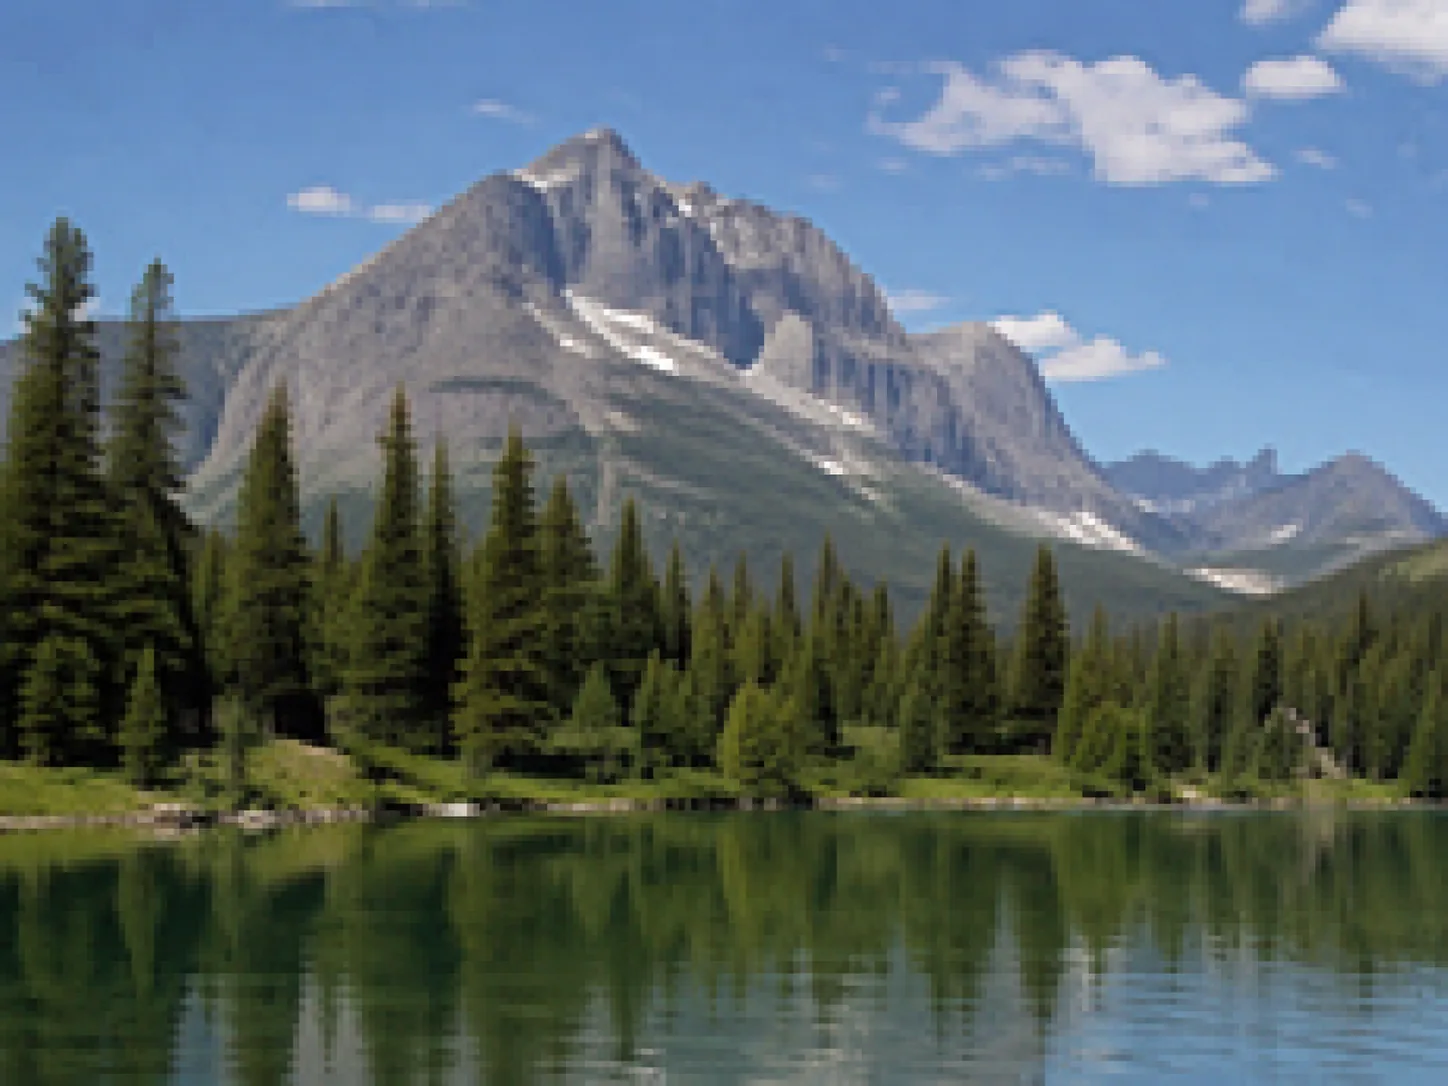
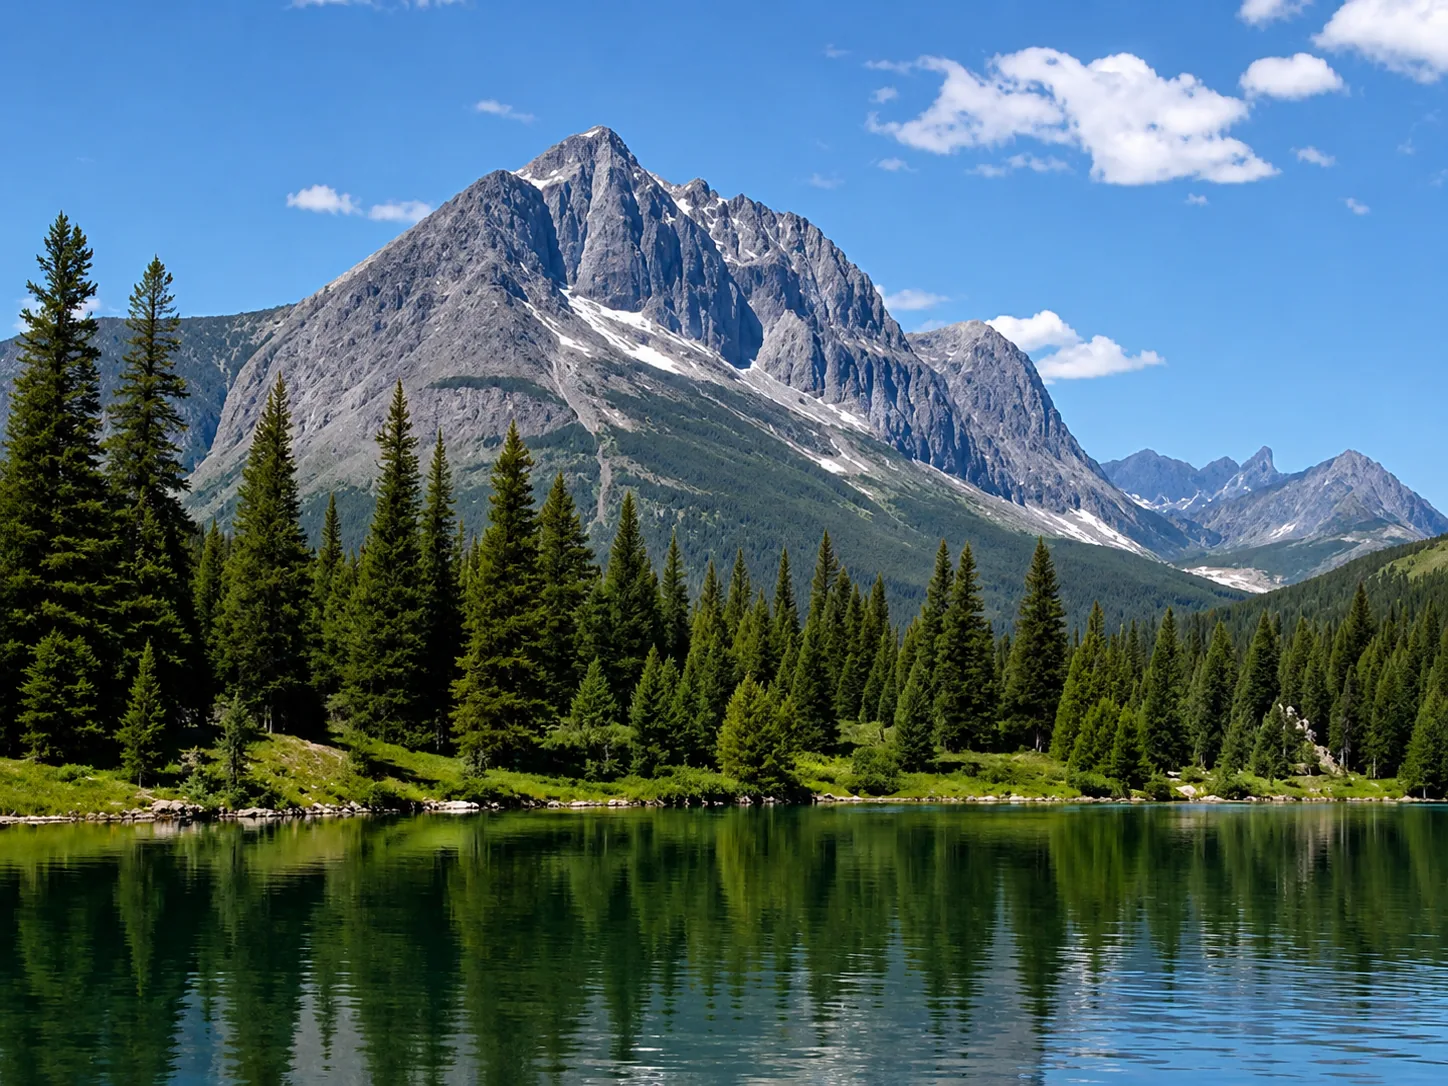
Notice the cleaner edges and more usable detail in the upscaled version. The result is not the same as a high-resolution original, but it is significantly better than a basic stretch.
Common mistakes to avoid
Upscaling before enhancing
If your image has noise or compression artifacts, upscaling makes them bigger. Clean first, then upscale.
Starting from a screenshot
Screenshots are already compressed and low resolution. Downloading the original file from wherever it came from will always give you a better upscaling result than screen-capturing it again.
Expecting miracles from heavily compressed sources
If the source image looks blocky and unreadable at normal size, upscaling will not fix it. You need a better original.
Using the wrong output size
Upscale to the actual size you need, not way beyond it. Upscaling 4× when you only need 2× creates unnecessarily large files and can introduce artifacts.
When to enhance vs when to upscale
Both tools improve images, but they do different jobs:
- Enhance when the image is the right size but looks dull, noisy, or soft
- Upscale when the image is too small for its intended use
- Enhance then upscale when the image is both low quality and too small
Frequently asked questions
Can AI make a blurry image high resolution?
AI can improve a blurry image and upscale it, but it cannot magically add detail that was never captured. A slightly soft photo at low resolution can become a clean image at higher resolution. A heavily blurred photo cannot be fully restored.
What is the best AI image upscaler?
ImgEnhancer's AI Image Upscaler rebuilds detail during enlargement using machine learning. It works on JPG, PNG, and WebP files and handles common use cases like ecommerce photos, portraits, and social media images.
How much can I enlarge an image with AI?
A 2× enlargement usually produces clean results for web use. 4× is possible for print-quality needs, though results depend on the original image quality. Going beyond 4× on a low-quality source will show diminishing returns.
Should I enhance or upscale first?
Enhance first, then upscale. This gives the upscaler cleaner data to work with and produces better results than upscaling first.
Does upscaling reduce quality?
AI upscaling improves quality compared to basic resizing. The result is cleaner and sharper than stretching pixels with a standard algorithm. Starting with a better source always produces better upscaling results.
Bottom line
Low-resolution images are salvageable. Start with the best original you have, enhance if needed, then upscale to the size you actually need. AI upscaling cannot replace a high-resolution source, but it can make a small, compressed image good enough for web and print use that it could not achieve otherwise.