Image Enhancer AI: How It Works
Learn how image enhancer AI improves photos, how images enhance a paragraph, and when to use AI without making your visuals look fake.
Image enhancer AI is software that improves photo quality by using machine learning to rebuild missing detail, sharpen soft areas, reduce noise, and increase resolution. It is useful when a photo is slightly blurry, compressed, low resolution, or too noisy to use as-is.
The short version: AI can make a weak image cleaner. It cannot magically recover information that never existed. The best results come from photos that are flawed but still readable.
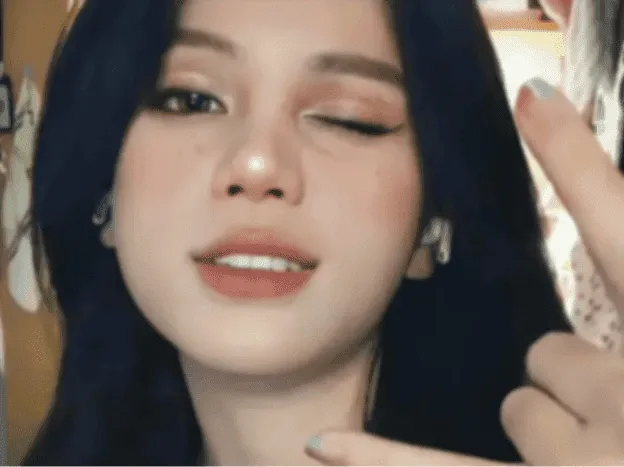
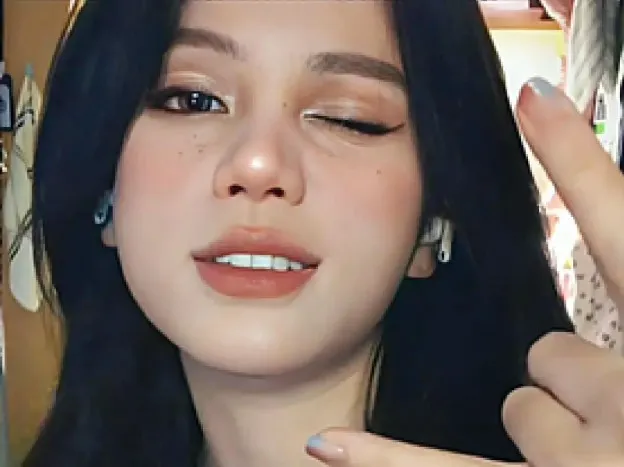
AI image enhancement before and after
These examples show two common use cases: making a soft portrait clearer and recovering usable detail from a low-resolution landscape.
| Before | After |
|---|---|
 |  |
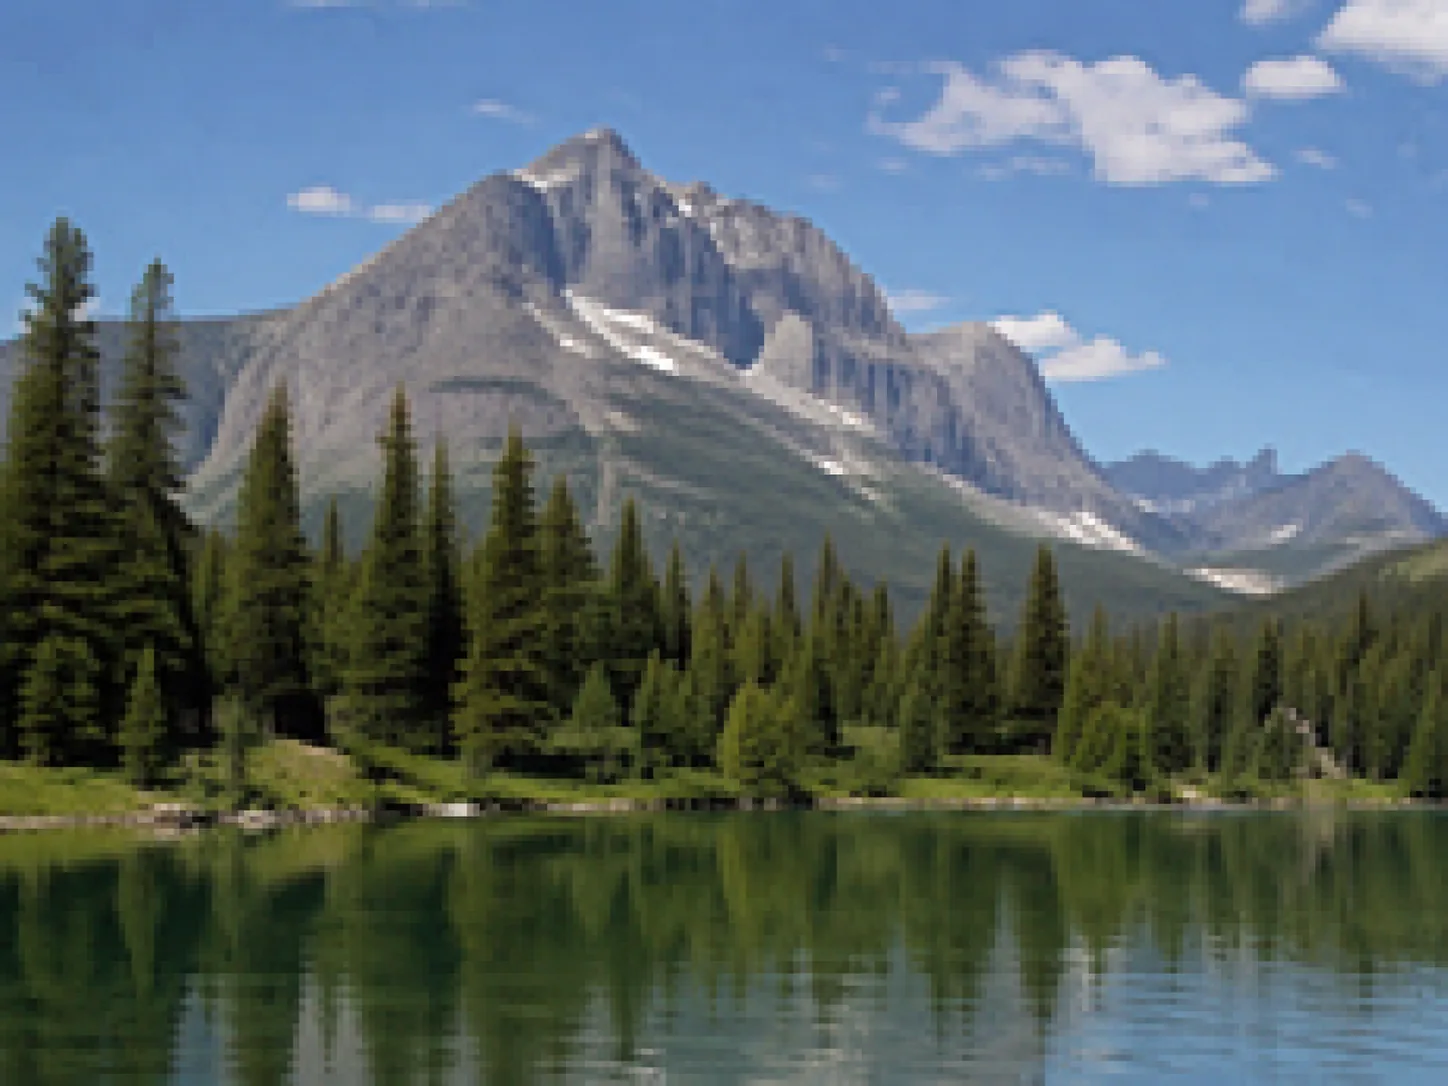 | 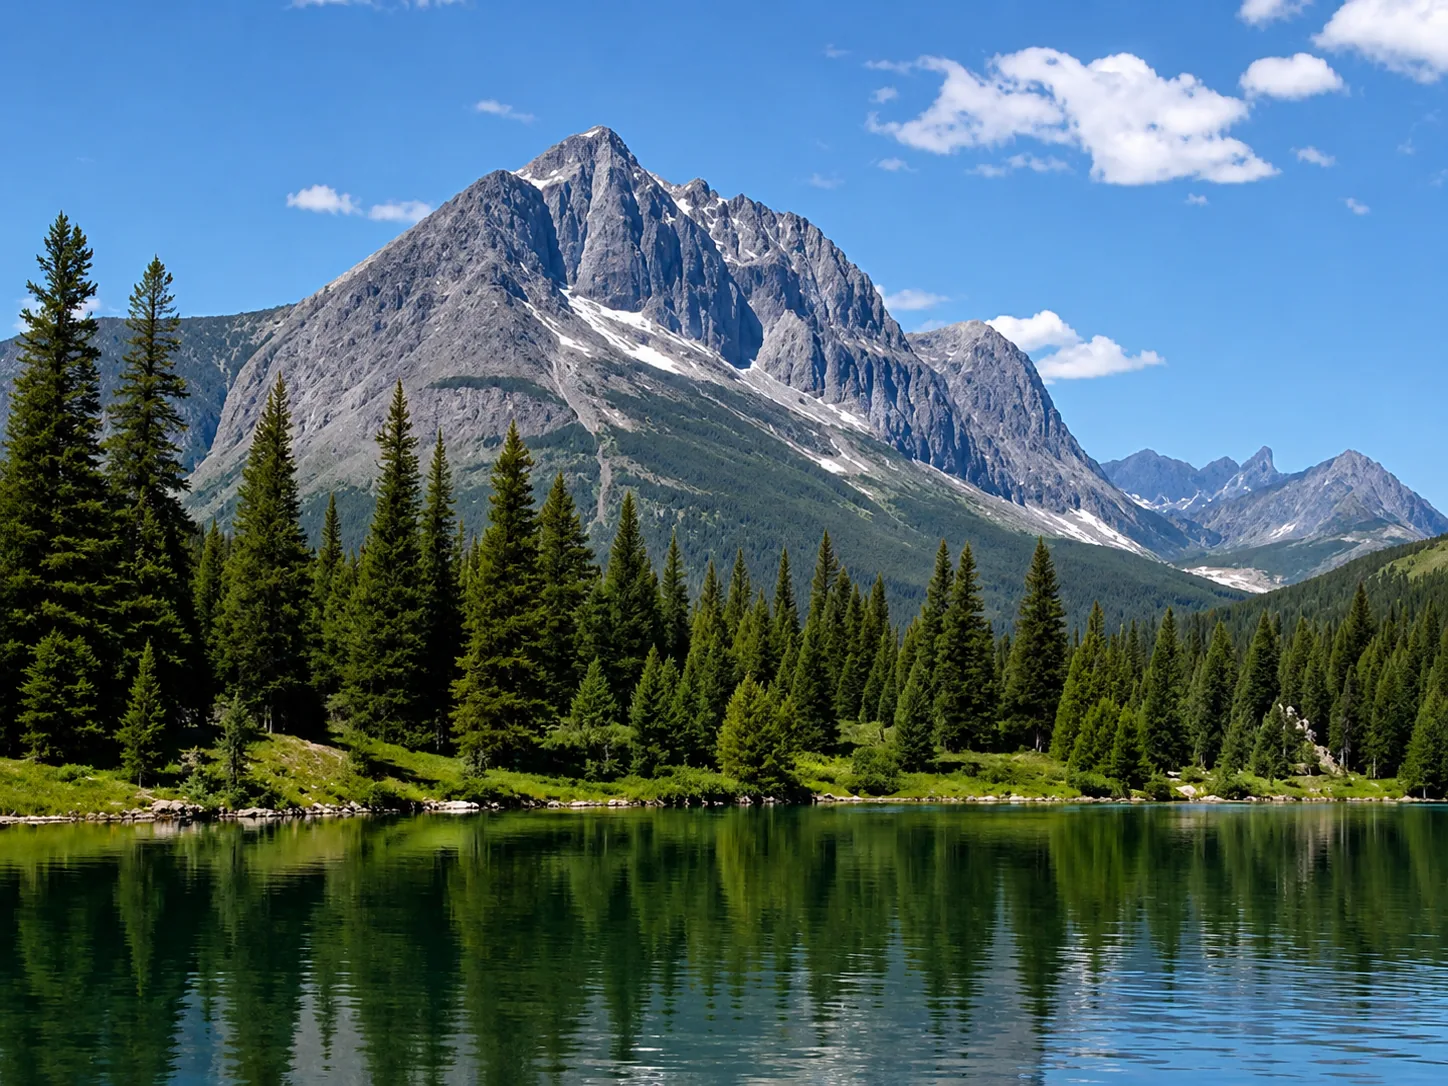 |
The portrait example shows clearer facial features and edges. The landscape example shows how upscaling can produce a larger, cleaner result when the source still contains recognizable shapes and detail.
What image enhancer AI does
An image enhancer AI looks at your photo and predicts what a cleaner version should look like. Depending on the model, it may do one or more of these jobs:
- sharpen facial features, hair, edges, and textures
- reduce grain and digital noise
- upscale a small image to a larger resolution
- clean JPEG compression artifacts
- improve contrast and local detail
- make an old or low quality photo easier to use online
For example, a compressed profile photo may have blocky edges around the face. An enhancer can smooth those artifacts, sharpen the eyes, and produce a cleaner image for a website, avatar, or product page.
How does an image enhance a paragraph?
An image enhances a paragraph by showing a scene, example, or relationship that would take longer to explain with words alone. A relevant image gives readers visual context, makes an abstract idea easier to understand, and breaks up a long block of text so the main point is easier to follow.
The image should add information rather than repeat the sentence beside it. For example, a before-and-after comparison can make the effect of image enhancement immediately clear, while a diagram can explain a process more effectively than a dense description. A decorative image may make a page look nicer, but a specific, well-captioned visual usually does more to support comprehension.
When choosing an image for a blog post or product page, ask:
- Does it clarify the point in the paragraph?
- Does it show an example, result, or process that text cannot show as quickly?
- Is the subject large and clear enough to understand on a phone?
- Does the alt text describe the image's purpose instead of stuffing in keywords?
For AI image enhancement content, a before-and-after image is especially useful. It lets readers compare sharpness, noise, texture, and small details at a glance. If the original visual is too small or blurry to demonstrate the difference, use an AI Image Enhancer first, then check the result at 100% zoom so the example stays honest.
When it works best
AI image enhancement works best when the original image still has enough structure for the model to read.
Good inputs:
- slightly blurry selfies or portraits
- old photos with visible faces
- screenshots or social media images saved at low quality
- product photos that need a sharper web version
- images that look noisy because they were shot in bad light
Bad inputs:
- photos where the subject is barely visible
- faces that are tiny in the frame
- motion blur that smears important features
- images with heavy filters already baked in
- documents or text where accuracy matters more than visual cleanup
If the face or object is completely destroyed by blur, the AI has to invent too much. That is when results start looking weird.
Image enhancement vs image upscaling
People often use these terms as if they mean the same thing. They are related, but not identical.
| Task | What it means | Best use case |
|---|---|---|
| Image enhancement | Improves clarity, sharpness, noise, and visible detail | Fixing a blurry or dull photo |
| Image upscaling | Increases pixel dimensions | Making a small image large enough for web or print |
| Face enhancement | Focuses on facial details such as eyes, skin, and hair | Restoring portraits and profile photos |
| Denoising | Removes grain or sensor noise | Low light photos |
A good workflow is usually enhancement first, then upscaling if you need a larger output. Upscaling a messy image can make the mess bigger. Clean it first.
How to use an AI image enhancer
You do not need a complicated editing workflow. A basic process is enough:
- Upload the original image.
- Let the AI process it.
- Compare the before and after result at 100% zoom.
- Check faces, hands, text, logos, and edges for strange artifacts.
- Download the enhanced image if it still looks natural.
Try it on the AI Image Enhancer homepage. It is built for fast photo cleanup: upload an image, preview the enhanced result, then download the clearer version.
What to check before publishing
AI enhancement can overdo things. Before you use the result on a landing page, marketplace listing, or profile, check these details:
- Does the face still look like the same person?
- Are eyes, teeth, and skin texture natural?
- Did the model change a logo, label, or important text?
- Are edges too crispy or haloed?
- Does the image look better at normal viewing size, not just zoomed in?
If the photo is for ecommerce, documentation, ID, legal use, or medical use, be careful. AI enhanced images can look convincing while changing small details.
Best practices for better results
Start with the highest quality source you have. Do not screenshot an image if you can download the original file.
Use common formats like JPG, PNG, or WebP. Crop out empty space if the subject is tiny. Avoid running the same image through five different enhancers in a row, because each pass can add artifacts.
For portraits, keep the face large enough in the frame. For products, use a clean background and decent lighting before enhancement. AI helps, but it is not a replacement for a readable source image.
Frequently asked questions
What is image enhancer AI?
Image enhancer AI is a tool that improves image quality with machine learning. It can sharpen details, reduce noise, fix mild blur, and increase resolution so a photo looks clearer.
Can AI fix a blurry photo?
AI can improve mildly blurry photos, especially portraits and web images. It cannot perfectly restore a photo where motion blur or compression has removed most of the original detail.
Is AI image enhancement the same as Photoshop?
No. Photoshop gives you manual control. AI image enhancement is usually automatic. It is faster for simple cleanup, but less precise when you need exact edits.
Can I use enhanced images commercially?
Usually yes, if you own the original image or have the right license. The important part is the source image rights, not just the enhancement tool.
Does image enhancer AI change the original photo?
It creates a new enhanced version. Your original file should stay unchanged unless you overwrite it yourself.
Bottom line
Image enhancer AI is best for making usable photos look cleaner, sharper, and more polished. Use it for portraits, website images, product photos, and low quality social media images.
Just keep one rule in mind: if accuracy matters, inspect the output carefully. Clearer is good. Fake-clear is where things get messy.
Continue with the right workflow: use the AI Image Enhancer for overall clarity, the AI Image Upscaler for small or low-resolution files, or the AI Unblur Image tool for soft-focus and blurry photos.